This non-destructive testing technique, also known as liquid penetrant inspection (LPI), is a cost-effective method used to locate surface breaking flaws such as cracks, porosity, laps, seams and other surface discontinuities. Dye penetrant inspection can be applied to both ferrous and non-ferrous materials and all non-porous materials (metals, plastics or ceramics).
Penetrant testing is commonly used to detect defects in castings, forgings and welds and is a key quality control step to assuring structural integrity of metal parts. Commonly, DPI is used to detect cracks, surface porosity, lack of penetration in welds and defects resulting from in-service conditions (e.g. fatigue cracks of components or welds) in castings, forgings, and welding surface defects. Some of the most demanding applications include nuclear plants, aerospace, turbine casings and blades, mining and refineries.
The penetrant may be applied to all non-ferrous materials and ferrous materials, but for inspection of ferrous components magnetic-particle inspection may be preferred for its subsurface detection capability. Dye penetrant testing offers the advantage as an all purpose, low-cost technique since the only requirement is a set of chemical reagents and in some cases a UV flashlight.
Liquid penetrant testing is useful for testing on-site as it is portable, and when applying certain techniques such as visible color contrast there is no need for additional resources such as electricity or water. This makes it a highly convenient for inspecting surface discontinuities.
Basic Principle
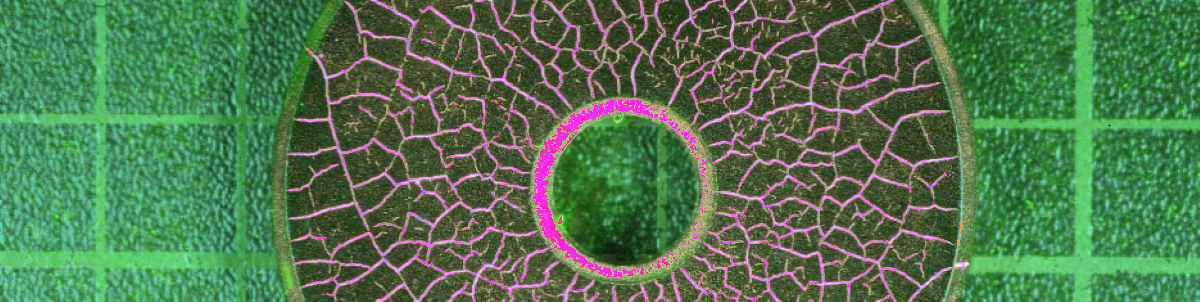
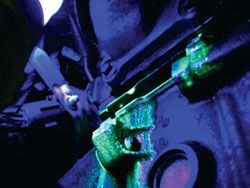
This method of inspection works on the principle of capillary action. Liquid Penetrant is applied by immersion, spraying or brushing to the part to be inspected. The Penetrant works its way into surface openings via capillary action. Excess surface Penetrant is removed while allowing the Penetrant in flaws to remain. A developer is applied which acts as a blotter to draw the Penetrant from the flaws creating an indication on the surface of the part. This indication is either visible or fluorescent depending on the type of Penetrant used.

Process Steps
- Preclean and dry test specimen surface
- Penetrant application
- Removal of excess surface penetrant
- Drying
- Developer application
- Inspection
- Postclean
History
Liquid Penetrant inspection started in the 1890’s as the Oil and Whiting method. The Oil was actually kerosene and was used as the Penetrant. The whiting was chalk dust suspended in alcohol and was used as the developer. This method was utilized by the railroad industry to detect large cracks in their components.
Advantages
This method of inspection can be used on virtually any material and the results appear directly on the surface of the part. This method of inspection is used predominantly on nonferrous materials (aluminum, titanium, magnesium, etc.).
Limitations
The single largest limitation of this method is that it will only reveal flaws that are physically open to the surface. Therefore surface preparation is critical to the effectiveness of this inspection method. In certain instances it is necessary to perform a pre-penetrant etch to remove smeared metal or excessive oxides that may have formed blocking the opening to flaws.
Other Details
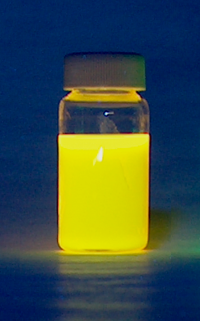
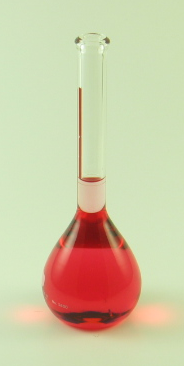
The Penetrant material is an oil based chemical with either visible or fluorescent dye. There are various types, methods and sensitivity levels within the Penetrant inspection method.
| Type I – Fluorescent | Method A – Water Washable | Sensitivity Levels 1-4 |
| Type II – Visible dye | Method B – Post Emulsified (lipophilic) | |
| Method C – Solvent Removable | ||
| Method D – Post Emulsified (hydrophilic) |
Nova offers both visible dyes and fluorescent dyes for use in most penetrant formulations including solvent or emulsion type.